This layout was made in Studio J using the Sweet Pea paper pack. The layouts come predesigned with basic embellishments and gives you the option to change them or to add more. You even get to pick the color of each one. In this layout, the stickease were added to give it a little something extra.
This Studio J layout was created using the Good Times paper pack. Titles and journaling are easy with digital scrapbooking. When I do traditional layouts I usually skip all journaling. My handwriting looks cheesy and printing is a pain, especially when you're not near a computer. Journaling blocks are included in each layout design, or they can be added anywhere on the page. I've been adding the date at the bottom of my layouts by adding a journal box and using an 8 sized font. This way I don't forget when the pictures were taken and I can keep everything sequential in my albums.
Here is another Studio J layout. This one is using the Hippity Hop paper pack. It may be a Studio J members only pack since I have never seen it before in any of the catalogs. Prior to uploading your photos into Studio J, you will need to do any photo editing in another software program (like red-eye removal, color adjusting, etc). Although you can zoom and pan photos inside each photo block.
These scrapbook pages were created using CTMH's new Studio J program. The layouts can be recreated as traditional pages using the Giggles and Grins paper pack. While digital scrapbooking is not quite as fun and relaxing as traditional, it really saves a lot of time. I was able to complete these two layouts in about 15 minutes and the longest part of the session was uploading the pictures. As a side note, we had a lot of fun on this Disney trip...despite getting completely soaked!
This wall hanging is approximately 8x10 and uses the Cricut Lite Dude Cartridge. The woody wagon is cut at 2.64x5.10 and the sign post at 8x3.62. The words were cut using the Sizzix Lollipop letters. That's it...simple as pie! (Or maybe it was my new room that made it simple?!)
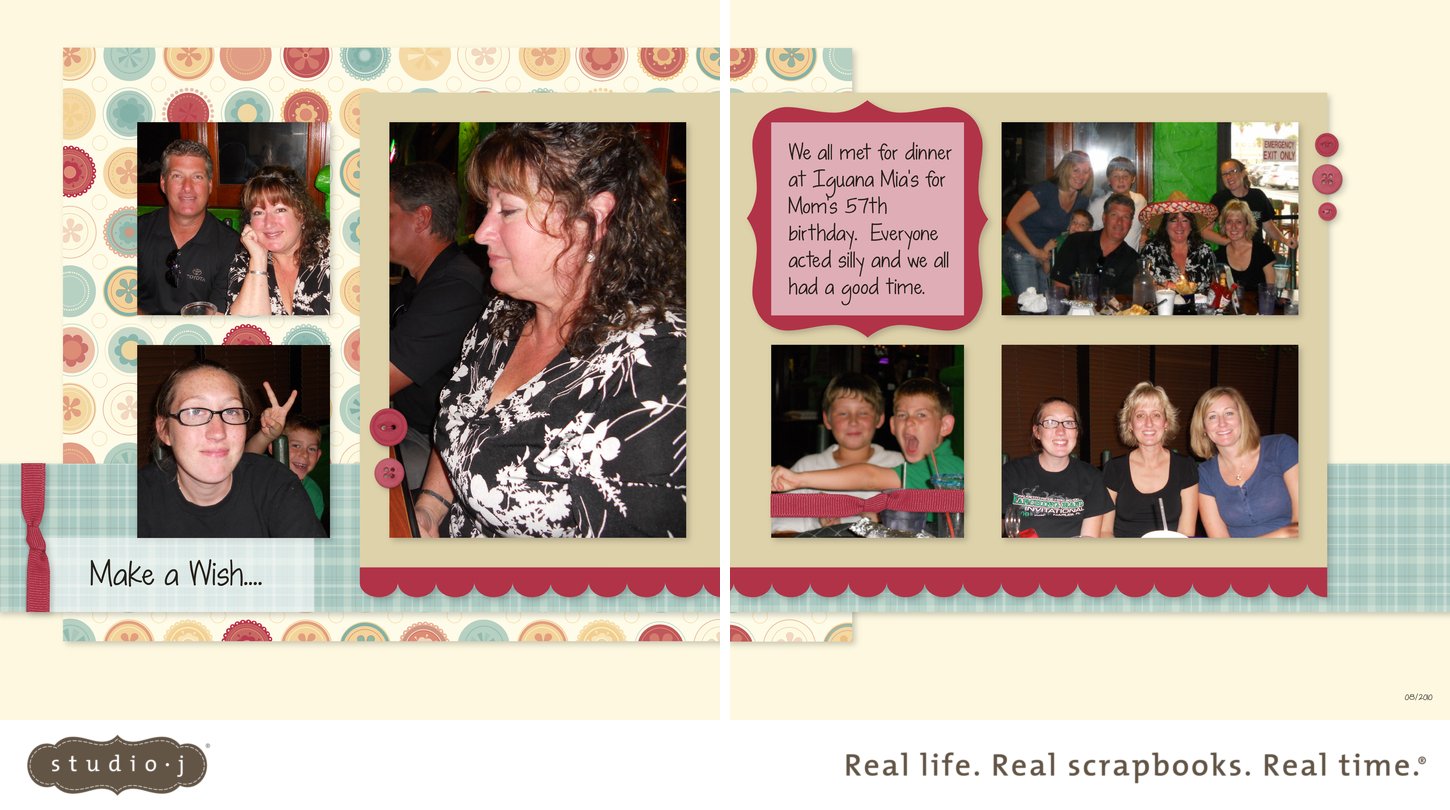
A Big Thanks to April for a fun day while working on this one. Happy Birthday to us!
I can't believe this is the same room! Amazing what a little organization can do. All my stuff is visible and right at hand....ready to be used. I still have to sort through my supplies and rearrage them a little but this is probably the cleanest it will ever be. (click here for the "before" pictures)
All the scrapbook room furniture was purchased from IKEA. To create the hanging file drawers for 12x12 paper storage, a standard drawer was used for the "wardrobe" (it's the one in the closet) and modified with heavy duty drawer slides and metal file bars/clips.
Hope you enjoy!
I have discovered IKEA and now must redo my entire scrapbook room. If everything goes according to plan, I will be working on it all weekend (and not crafting). Here are my "before" pictures. I would say ignore the mess, but I just have too much stuff to keep it clean!